


Change the background size to match the width of the space you're putting your design. In this case, I'm trying to fit the established date and last name to the monogram, so I'll change the width to be the same as the monogram size I chose. (36").

You can also chose the color of the wall where you'll apply your design, but keep in mind that the color you chose is just a visual tool to give you an idea of the colors - there is not a background included with the design.
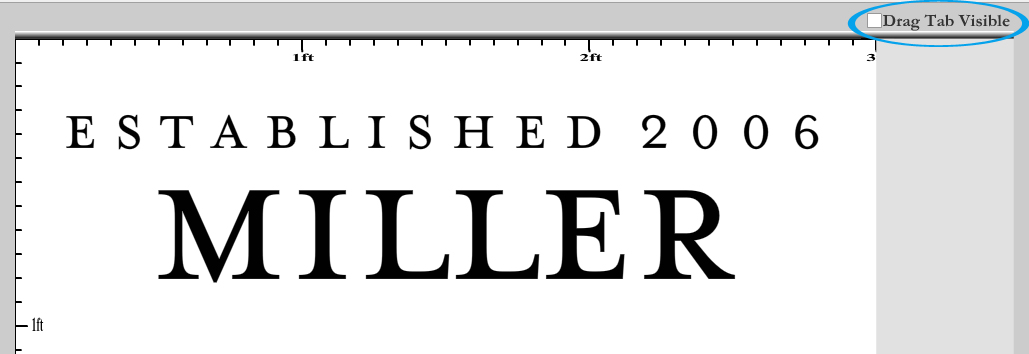
Next, select the words "Make Your Statement Here", and type in the text you want to be directly below the monogram. In my case, I typed in "e s t a b l i s h e d 2 0 0 4" (note the spaces between each character - this is not required, and would not work at all with a script-type font). Then I chose the font by clicking another button on the lower left side of the tool labeled: Font
Next, select the words "Make Your Statement Here", and type in the text you want to be directly below the monogram. In my case, I typed in "e s t a b l i s h e d 2 0 0 4" (note the spaces between each character - this is not required, and would not work at all with a script-type font). Then I chose the font by clicking another button on the lower left side of the tool labeled: Font

.jpg)


Then follow the steps above for changing the font (Mrs Eaves Caps is what we used again), and choose the size for the second layer.

After your design is in your cart, don't worry if the layers aren't displayed in the order that you made them; each layer will come on it's own piece, and you'll be able to position them however you'd like.
These same concepts can be applied to our Field of Flowers design.

Good luck, and Happy Designing!
No comments:
Post a Comment